Manual partitioning of Rocky Linux with RAID1 and LVM
Use this procedure to prepare a Rocky Linux system for a NethServer 8 installation with two
disks in RAID1 and LVM.
This guide works for both BIOS and EFI systems.
note
On EFI systems, you must create an additional /boot/efi partition. On BIOS systems, skip
steps 8 and 9.
Start the installer
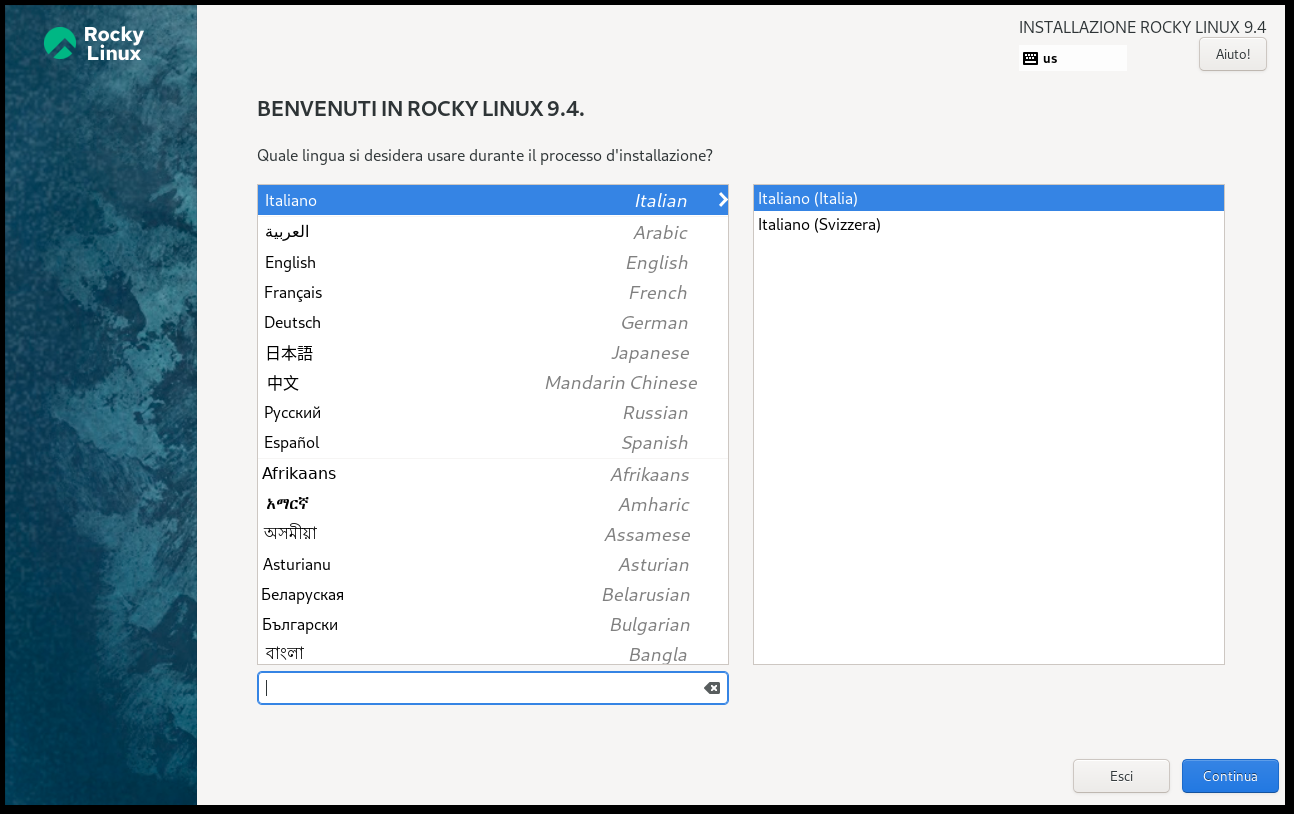
- Boot the system from the Rocky Linux ISO and choose Install Rocky Linux.

- Choose the installation language and click Continue.
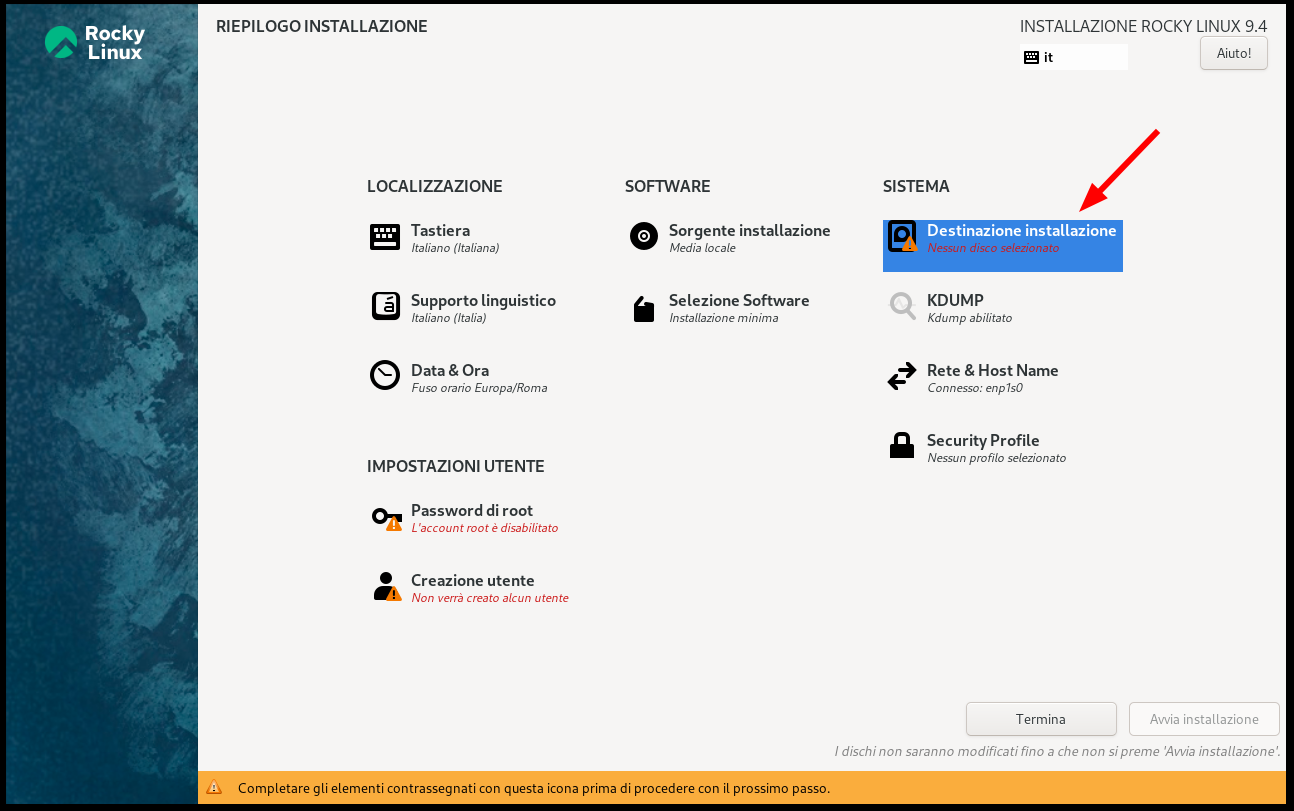
- Open Installation Destination.
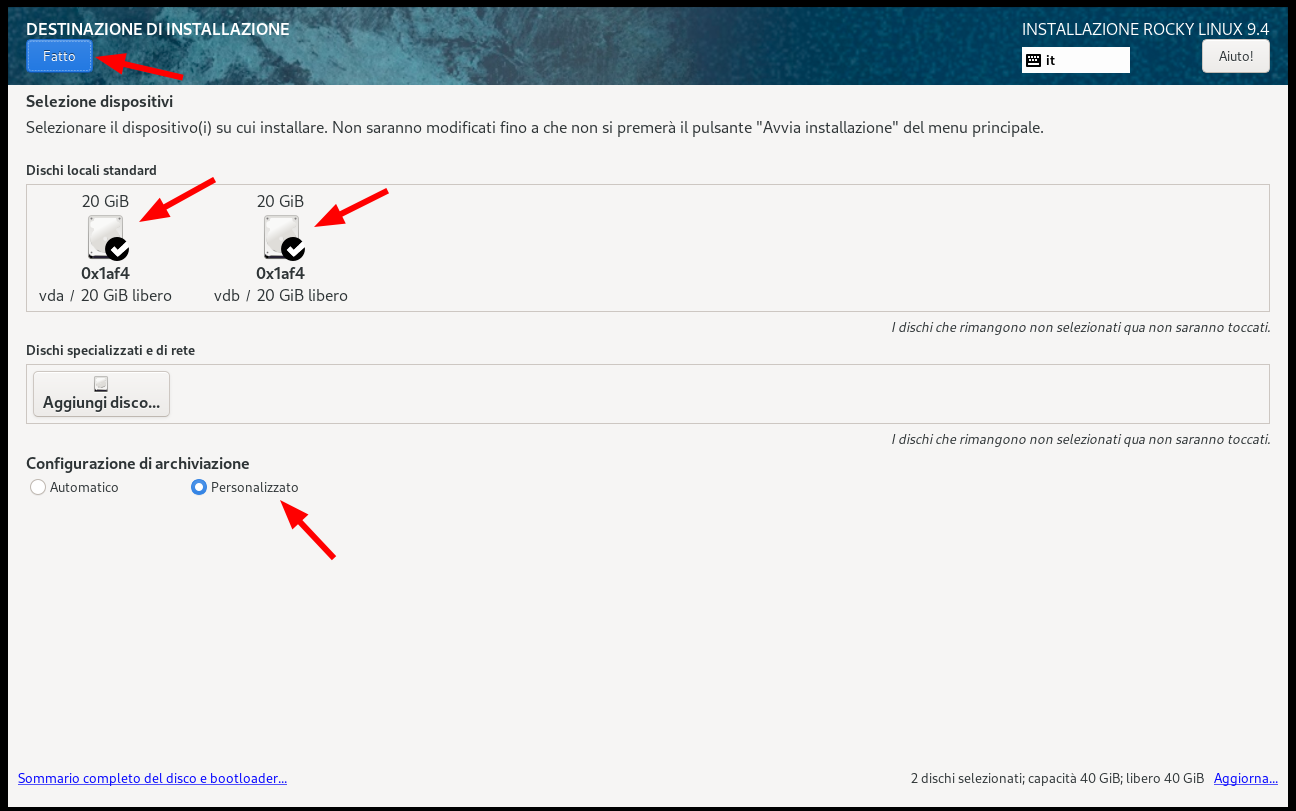
- Select the two disks to use, choose Custom in the storage configuration section, and click Done.
Create the RAID1 and LVM layout
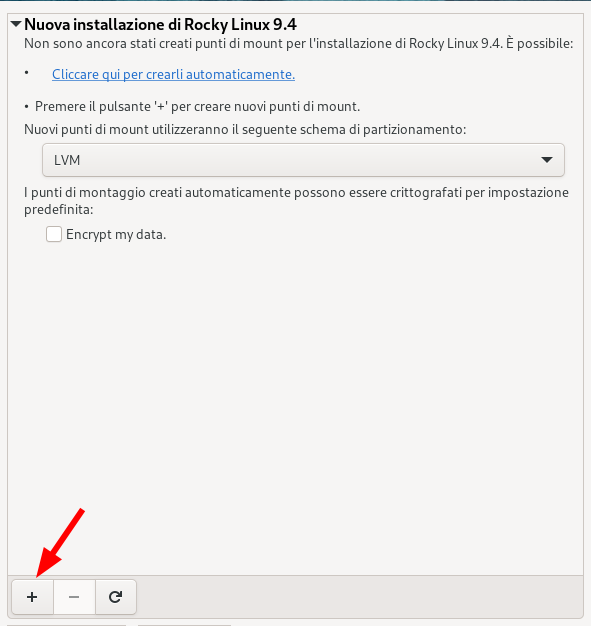
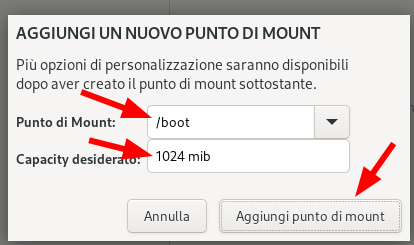
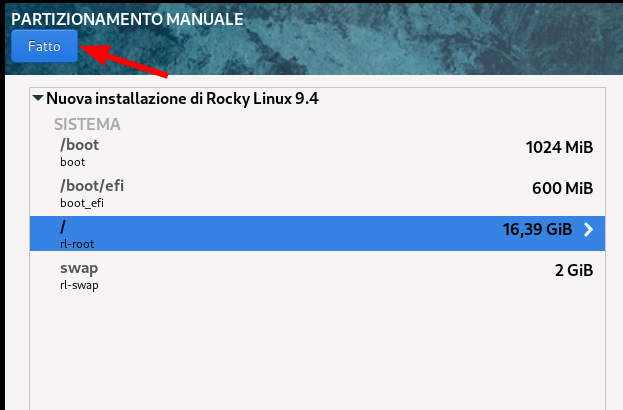
- In Manual Partitioning, make sure the partitioning scheme is LVM, then click the + icon.
- Create the
/bootmount point with size1024 MiB, then click Add mount point.
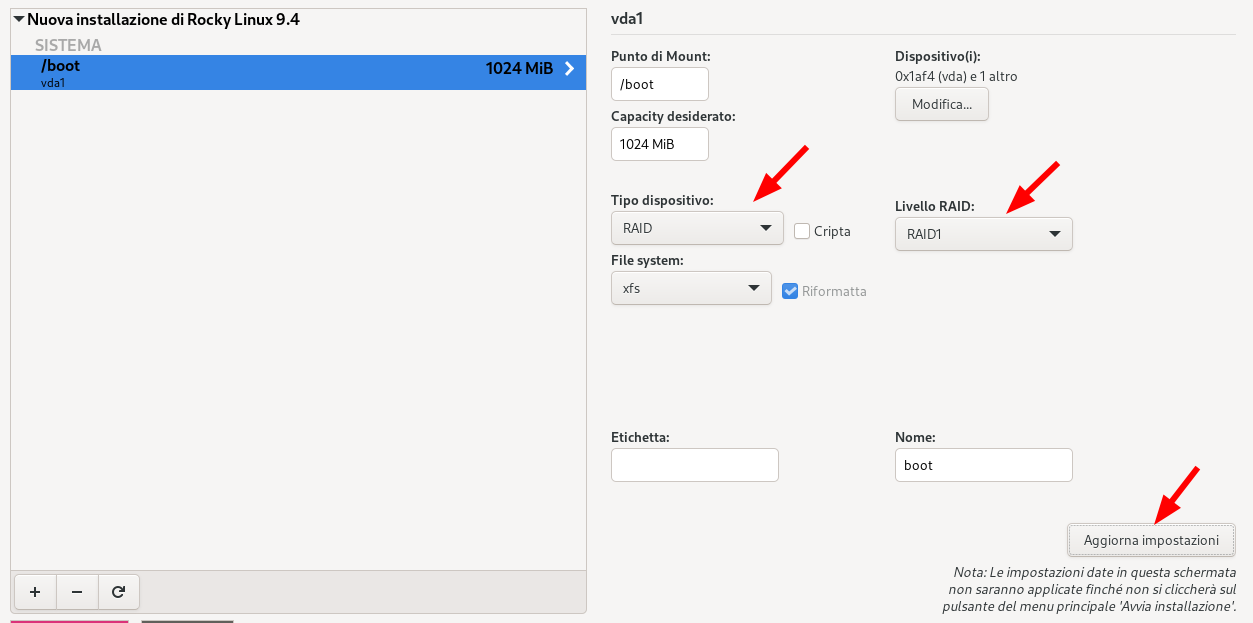
- Select
/boot, change Device Type to RAID, make sure RAID Level isRAID1, then click Update Settings.
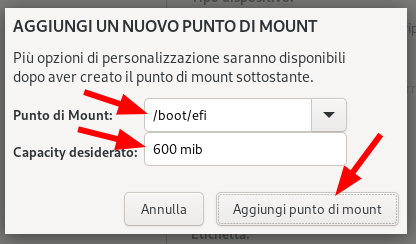
- On EFI systems only, click + again, create
/boot/efiwith size600 MiB, then click Add mount point.
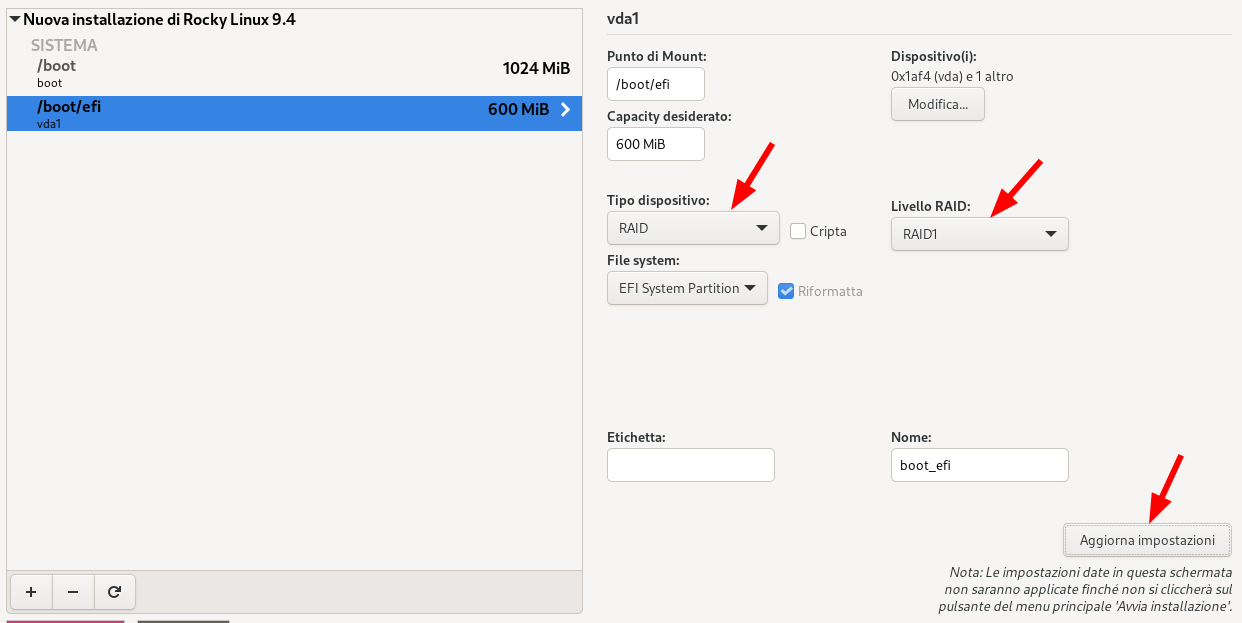
- On EFI systems only, select
/boot/efi, change Device Type to RAID, make sure RAID Level isRAID1, then click Update Settings.
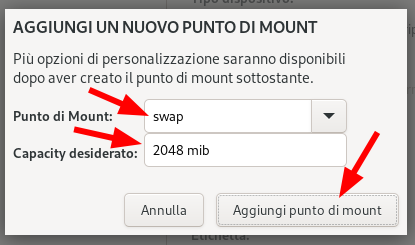
- Create the
swapmount point. Assign a size appropriate for the server RAM. Refer to the Red Hat swap size guidance, then click Add mount point.
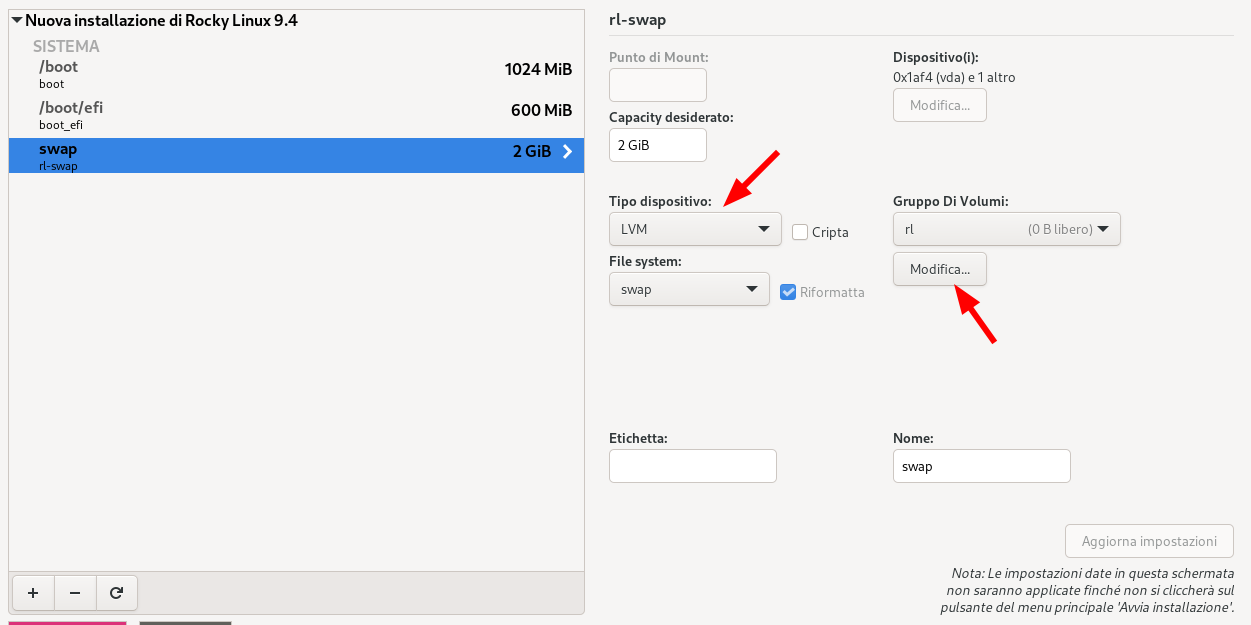
- Select
swap, make sure Volume Type isLVM, then click Modify in the Volume Group section.
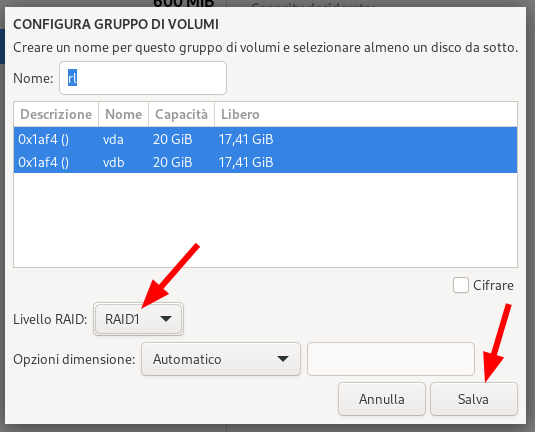
- In Configure Volume Group, set RAID Level to
RAID1, then click Save.
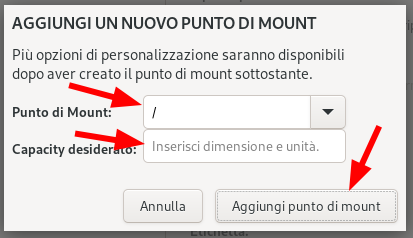
- Click + again, create the
/mount point, and leave the size empty so the installer uses all remaining space. Then click Add mount point.
- Click Done.
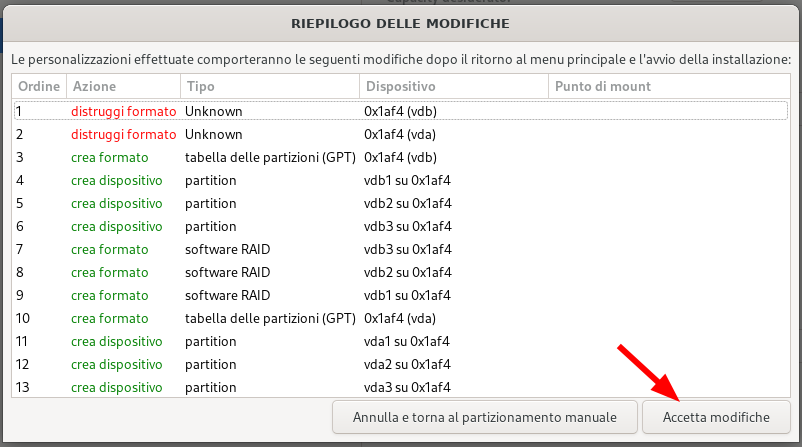
- In Summary of Changes, click Accept Changes.
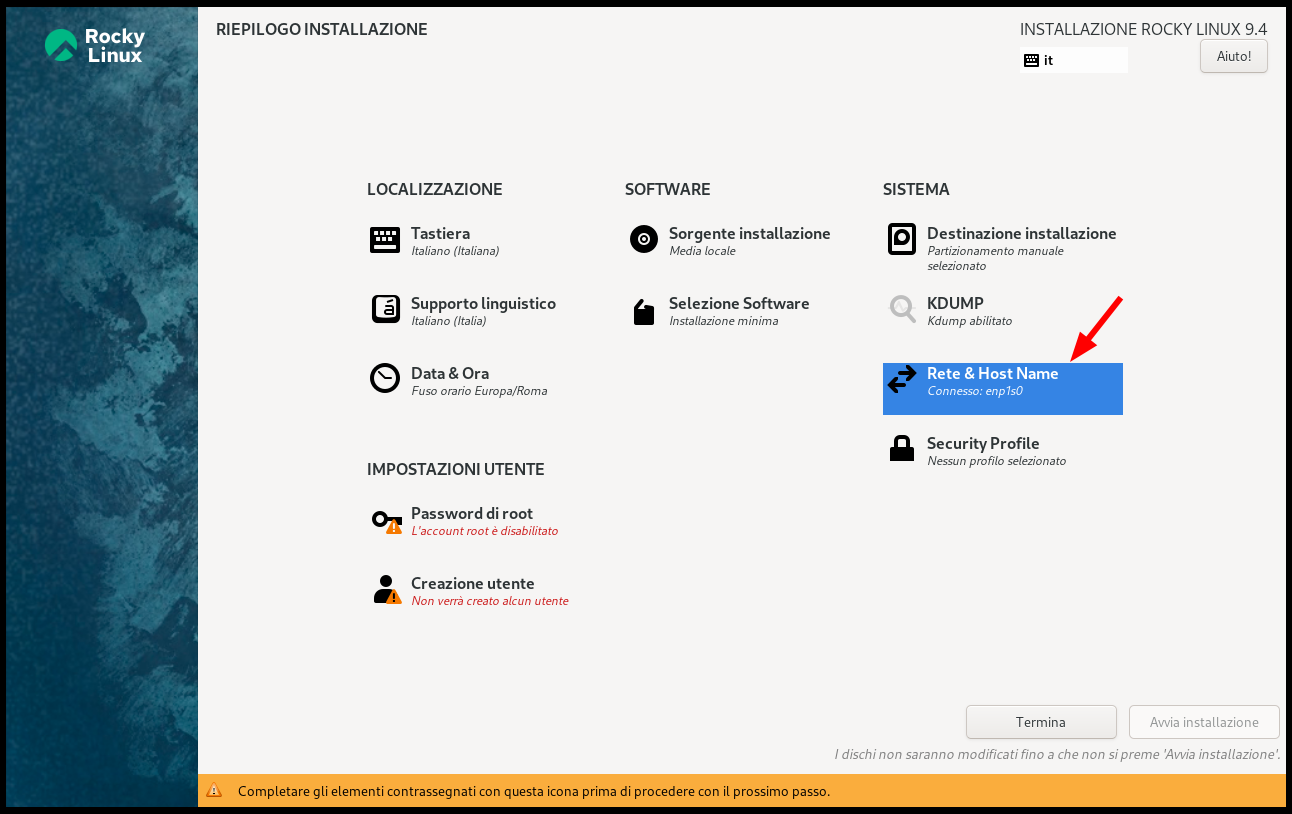
Configure network and host name
- Back in Installation Summary, open Network & Host Name.
- Set the server FQDN in Host Name and click Apply. If needed, click Configure to change the network settings.
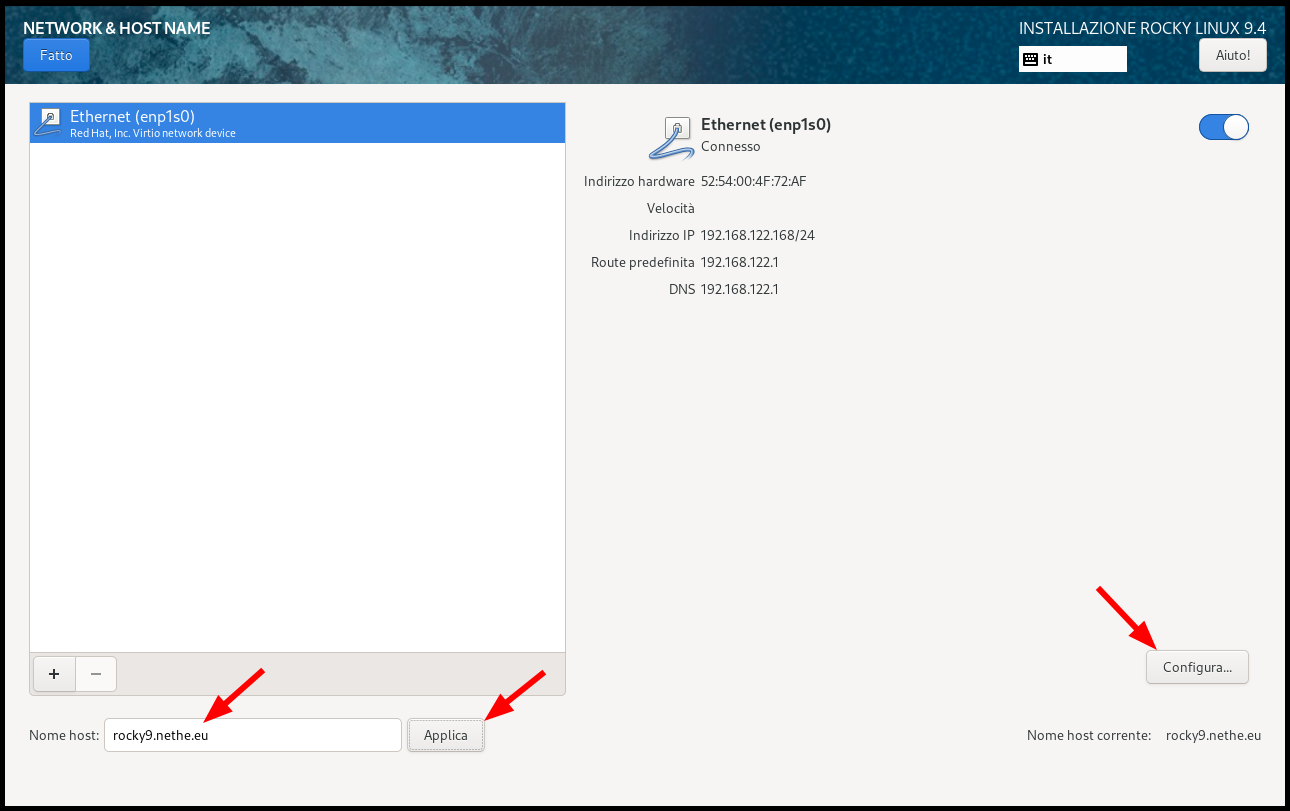
- If you want a static address, open the IPv4 Settings tab.
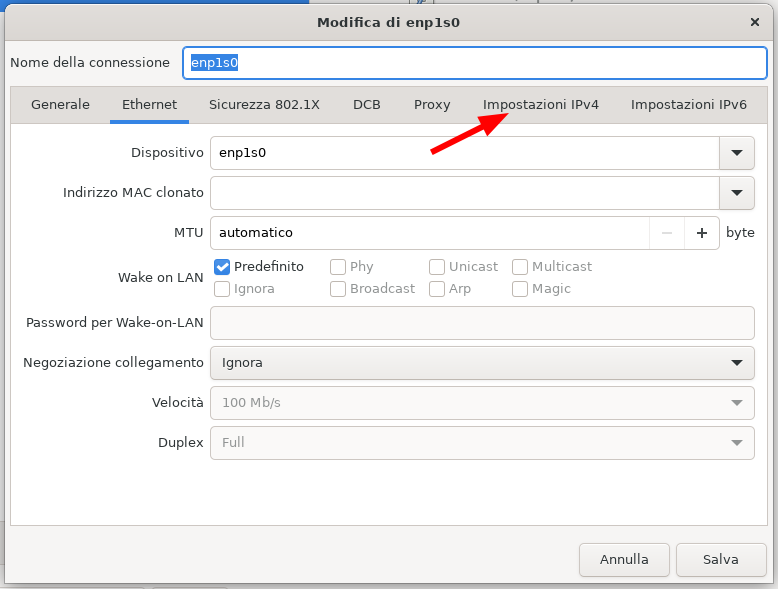
-
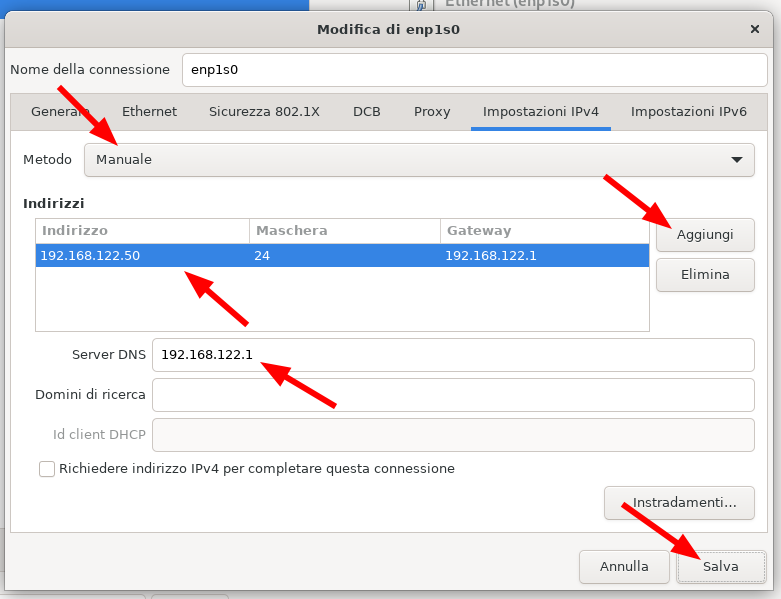
Change Method from Automatic (DHCP) to Manual, then:
- click Add and enter the IP address, netmask in CIDR notation, and gateway
- add the DNS server in the DNS servers field
- click Save
- When network and host name configuration is complete, click Done.

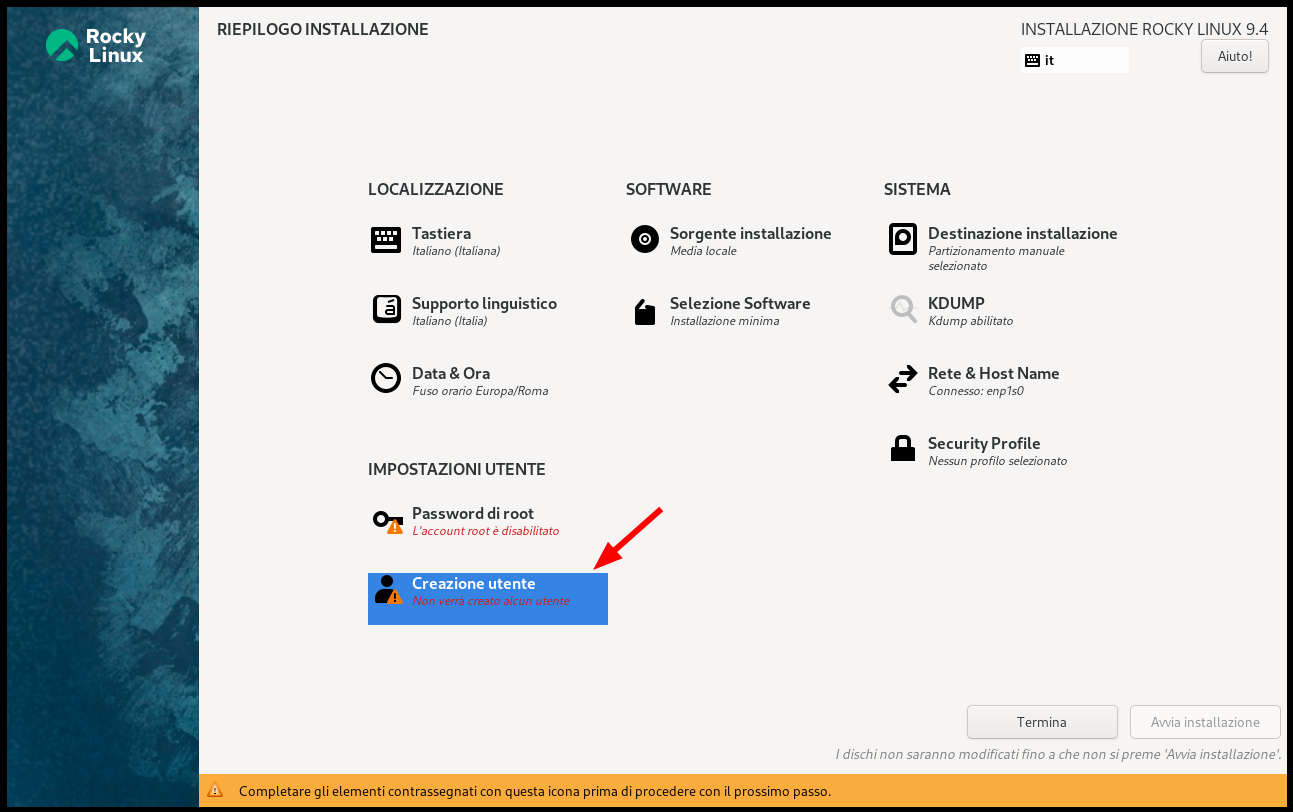
Create the administrative user
- Open User Creation.
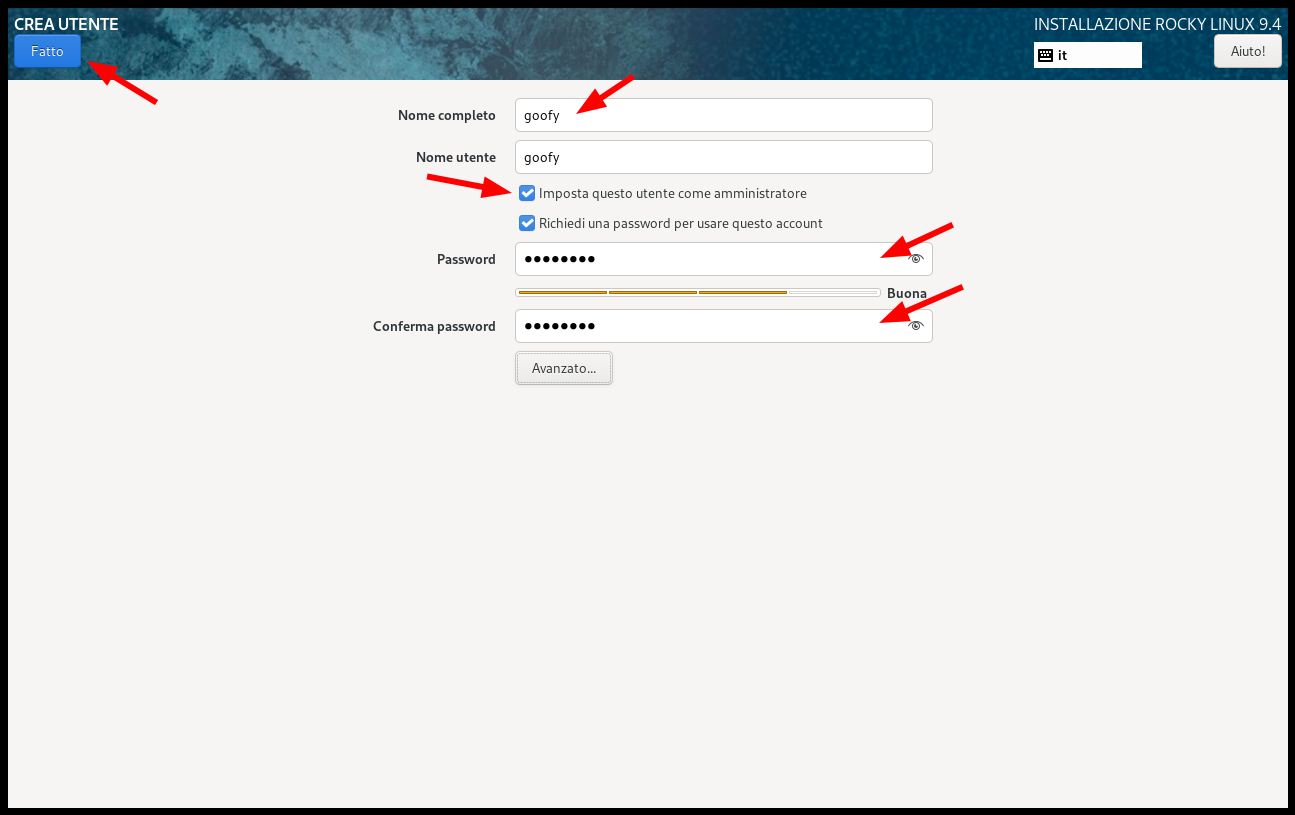
-
Create the privileged user that will manage the operating system:
- choose the username
- enable Make this user administrator
- enter the password twice
warning
This user can escalate privileges with sudo and act as root. Protect it with a strong
password.
Then click Done.
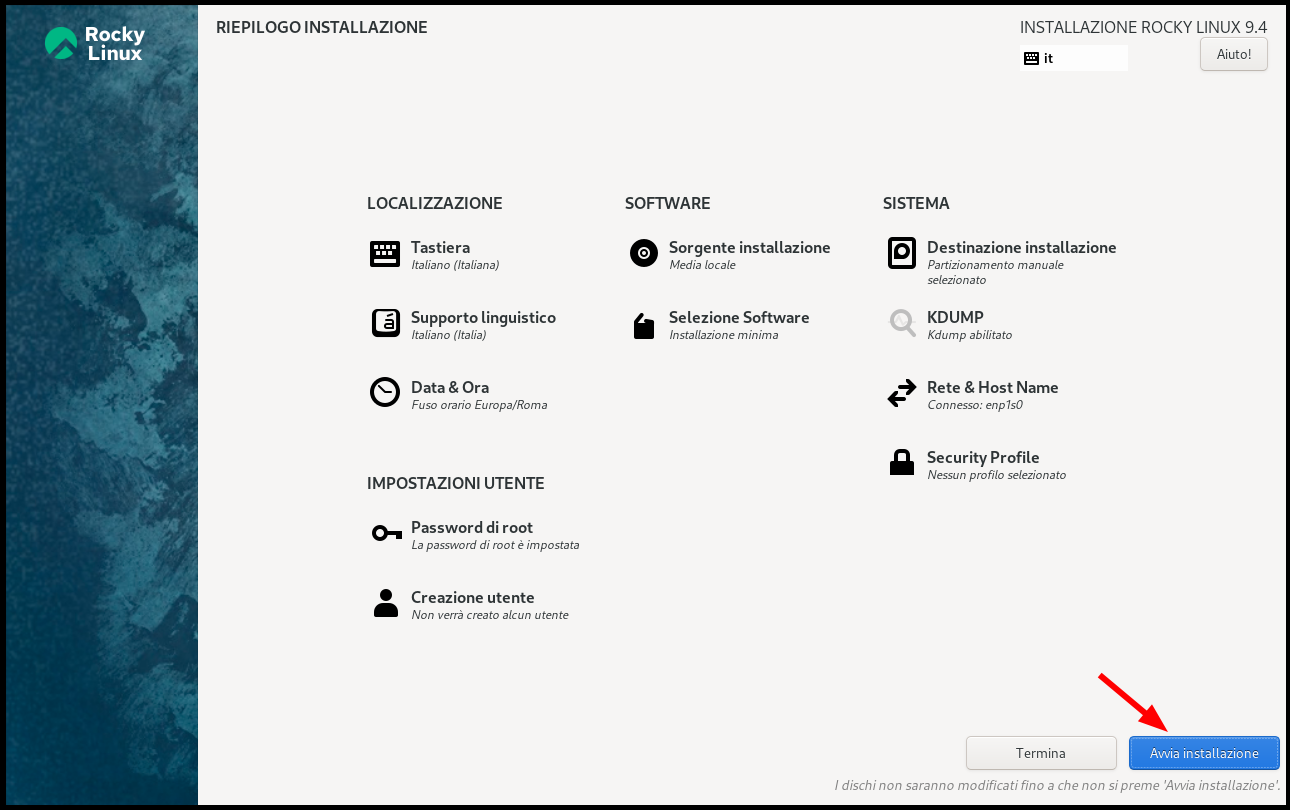
- Back in the main menu, continue with the installation.
Next step
When the Rocky Linux installation is complete, continue with the NethServer 8 setup by following Install NS8 on a supported distribution.
For more details about Rocky Linux installation, see the official Rocky Linux installation guide.