Manual partitioning of Rocky Linux with a single disk and no LVM
Use this procedure to prepare a Rocky Linux system for a NethServer 8 installation with a
single disk and no LVM.
This setup is suitable, for example, for virtualized environments.
This guide works for both BIOS and EFI systems.
On EFI systems, you must create an additional /boot/efi partition. On BIOS systems, skip
step 7.
Start the installer
- Boot the system from the Rocky Linux ISO and choose Install Rocky Linux.

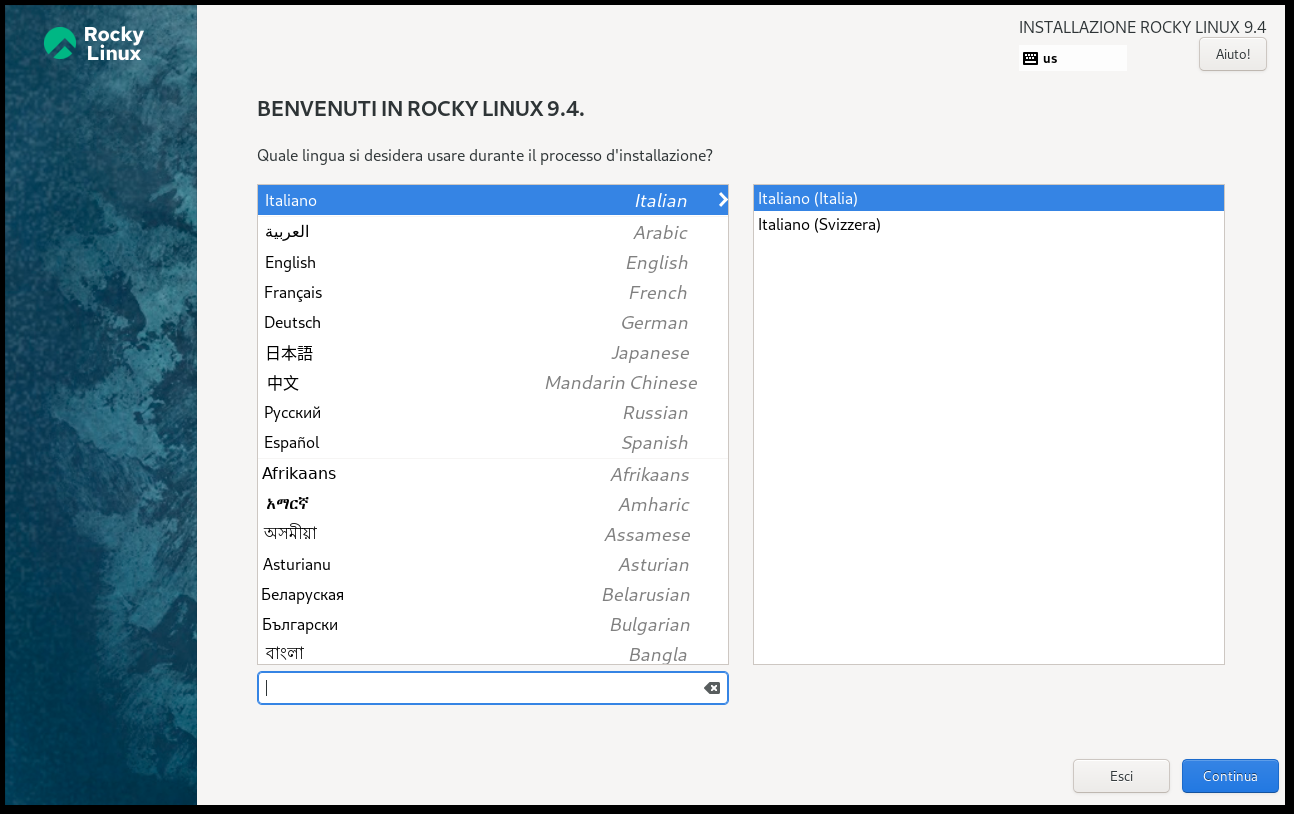
- Choose the installation language and click Continue.
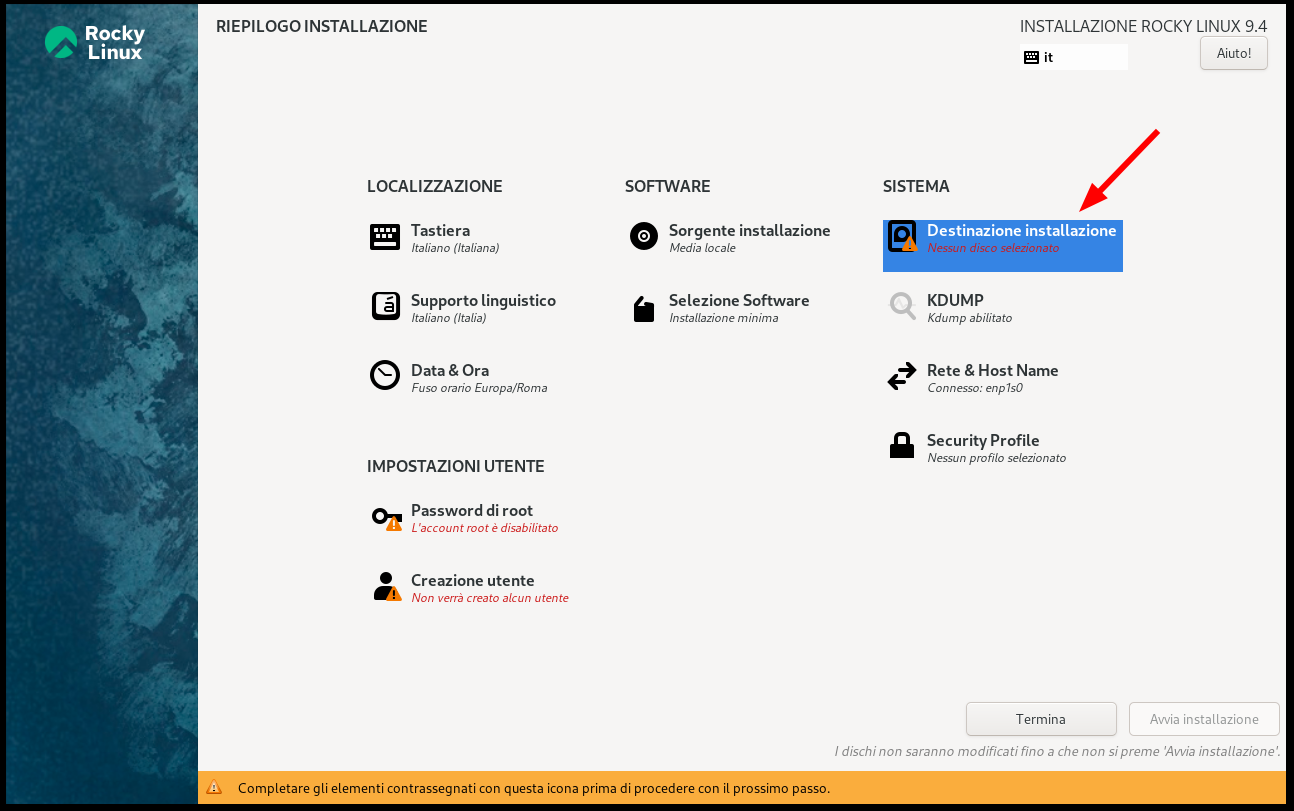
- Open Installation Destination.
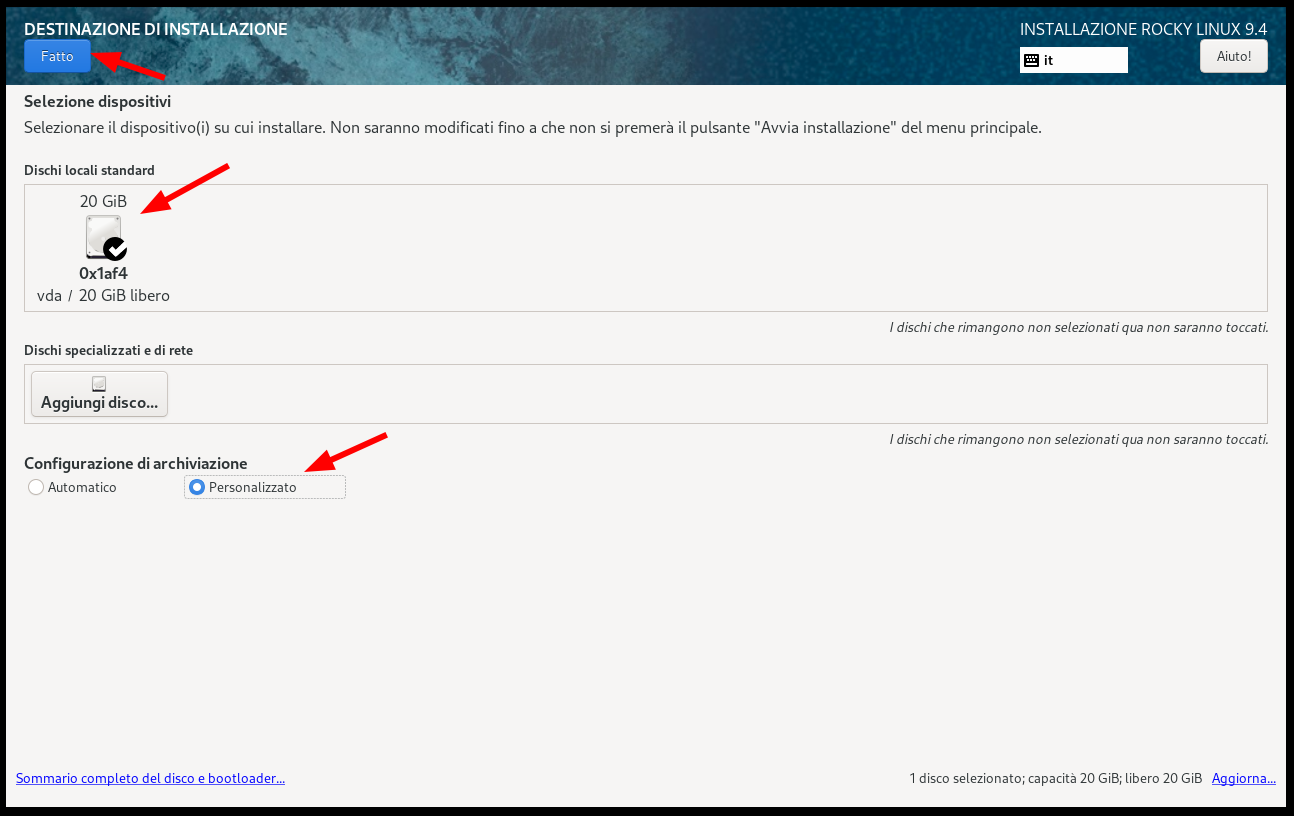
- Make sure the disk to use is selected, choose Custom in the storage configuration section, and click Done.
Create the partition layout
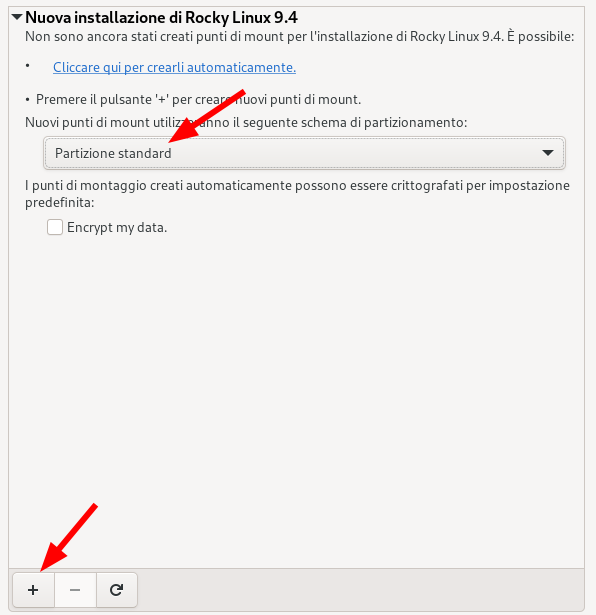
- In Manual Partitioning, select the Standard Partition partitioning scheme, then click the + icon.
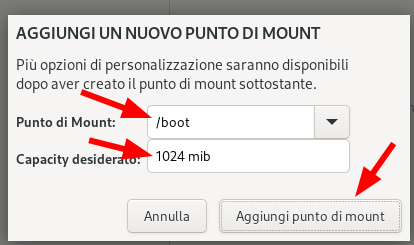
- Create the
/bootmount point with size1024 MiB, then click Add mount point.
- On EFI systems only, click + again, create
/boot/efiwith size600 MiB, then click Add mount point.

- Create the
swapmount point. Assign a size appropriate for the server RAM. Refer to the Red Hat swap size guidance, then click Add mount point.

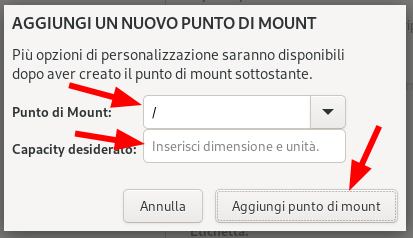
- Click + again, create the
/mount point, and leave the size empty so the installer uses all remaining space. Then click Add mount point.
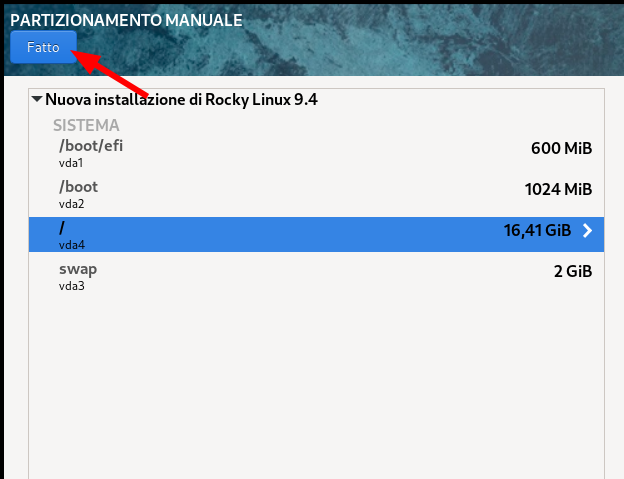
- Click Done.
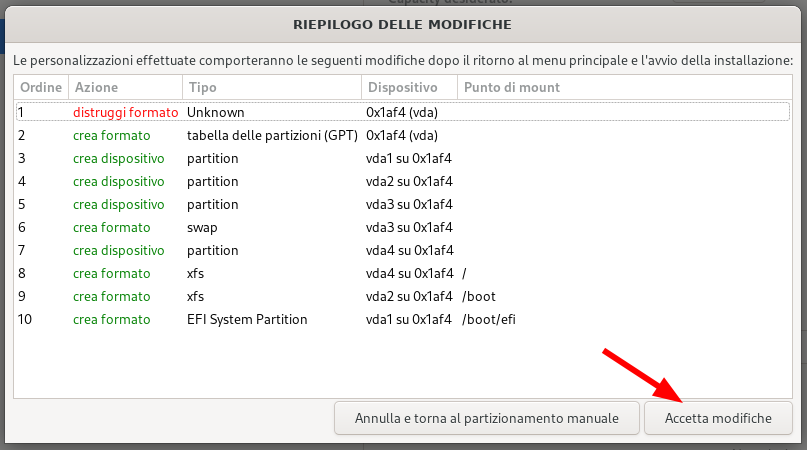
- In Summary of Changes, click Accept Changes.
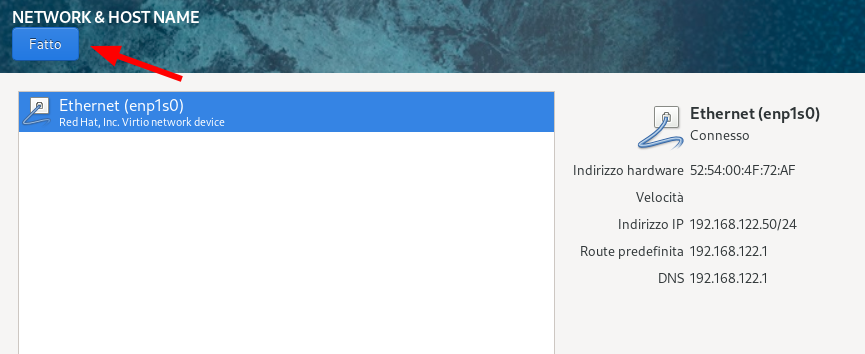
Configure network and host name
- Back in Installation Summary, open Network & Host Name.
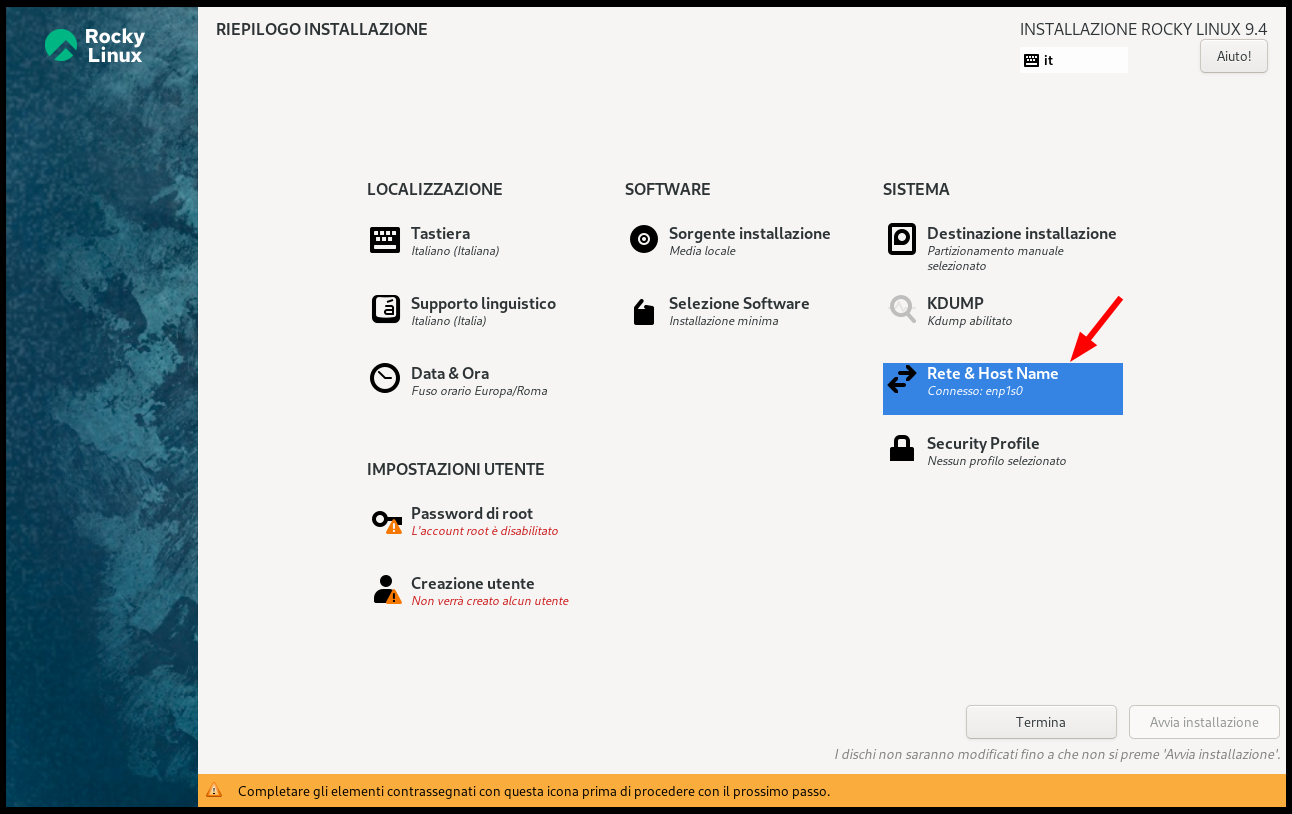
- Set the server FQDN in Host Name and click Apply. If needed, click Configure to change the network settings.
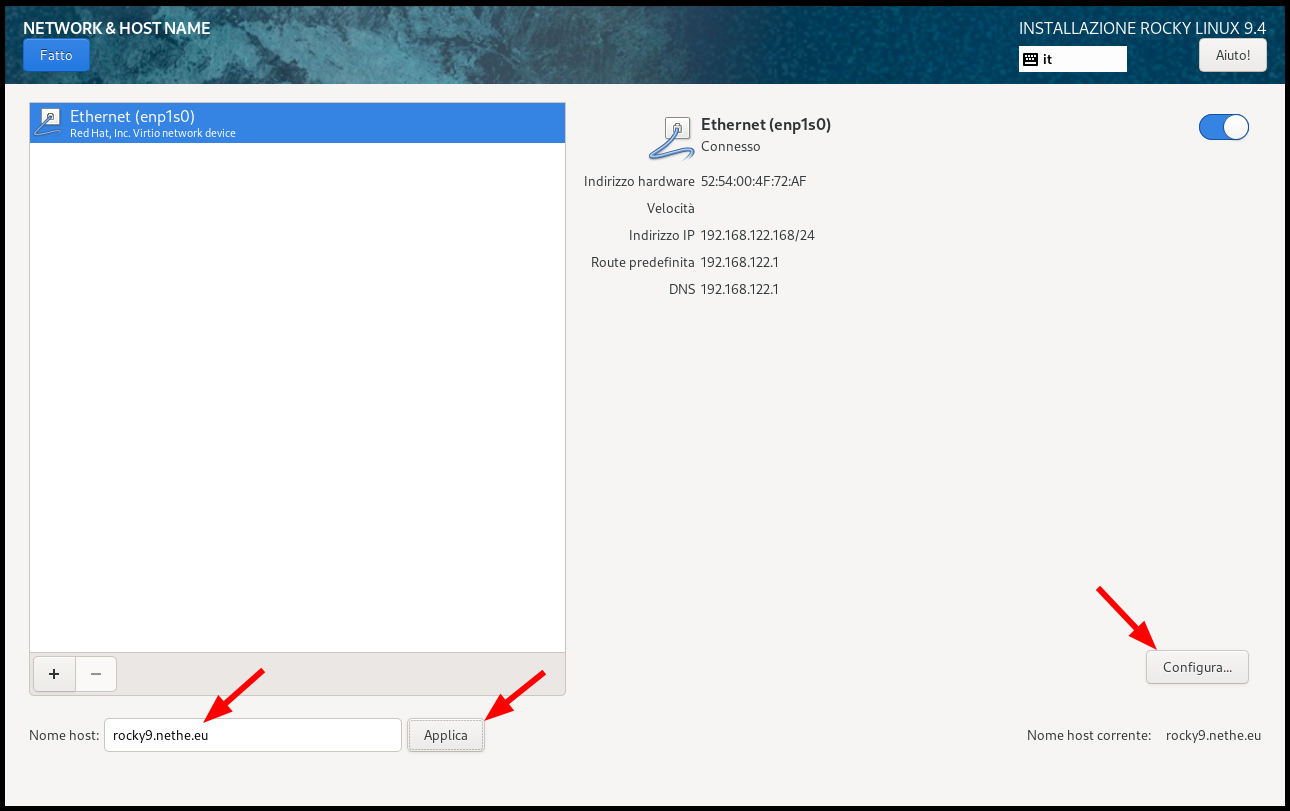
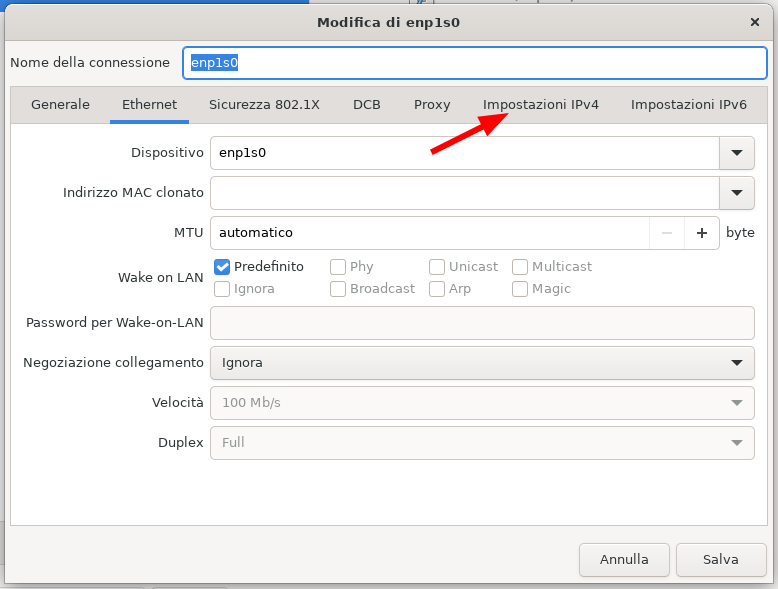
- If you want a static address, open the IPv4 Settings tab.
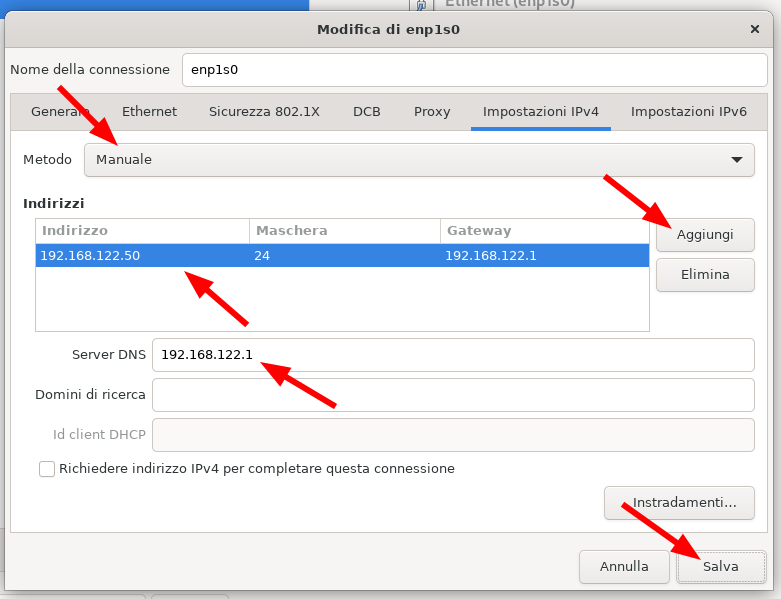
-
Change Method from Automatic (DHCP) to Manual, then:
- click Add and enter the IP address, netmask in CIDR notation, and gateway
- add the DNS server in the DNS servers field
- click Save
- When network and host name configuration is complete, click Done.
Create the administrative user
- Open User Creation.
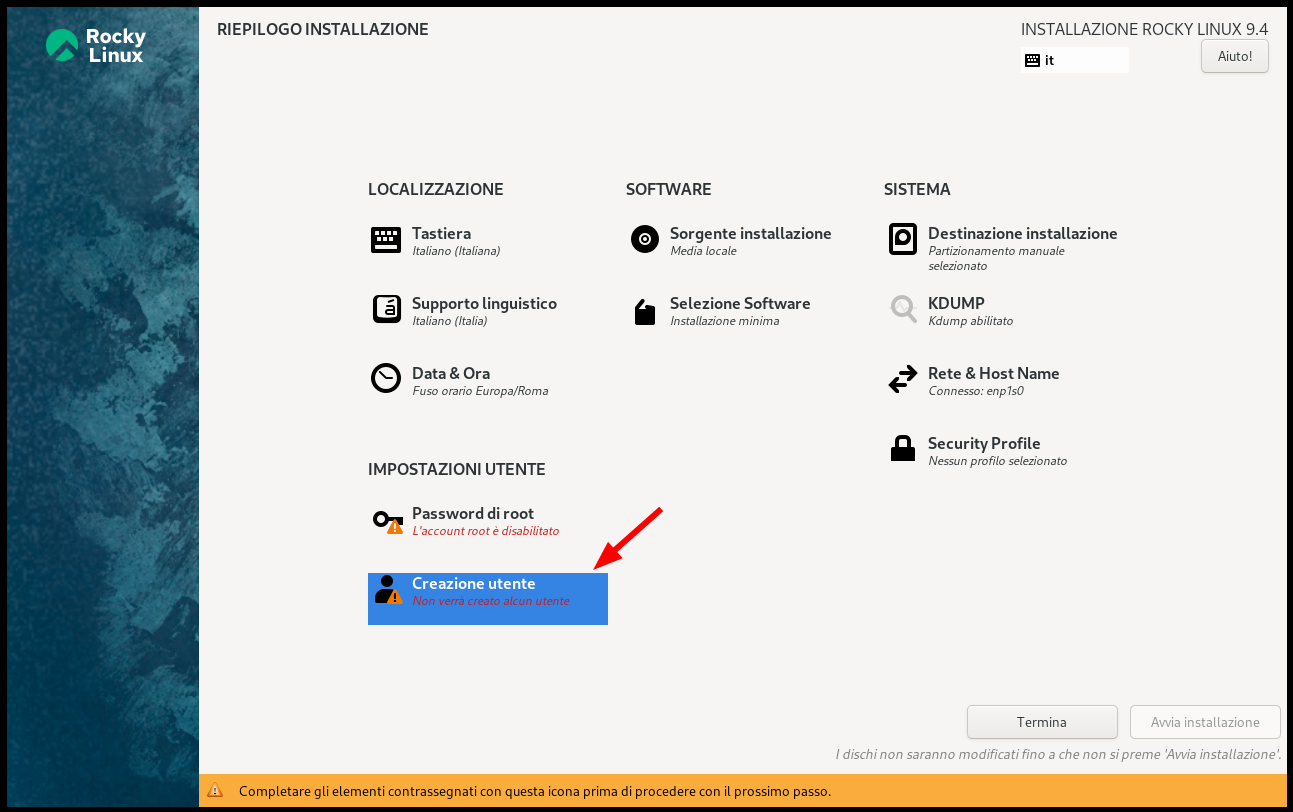
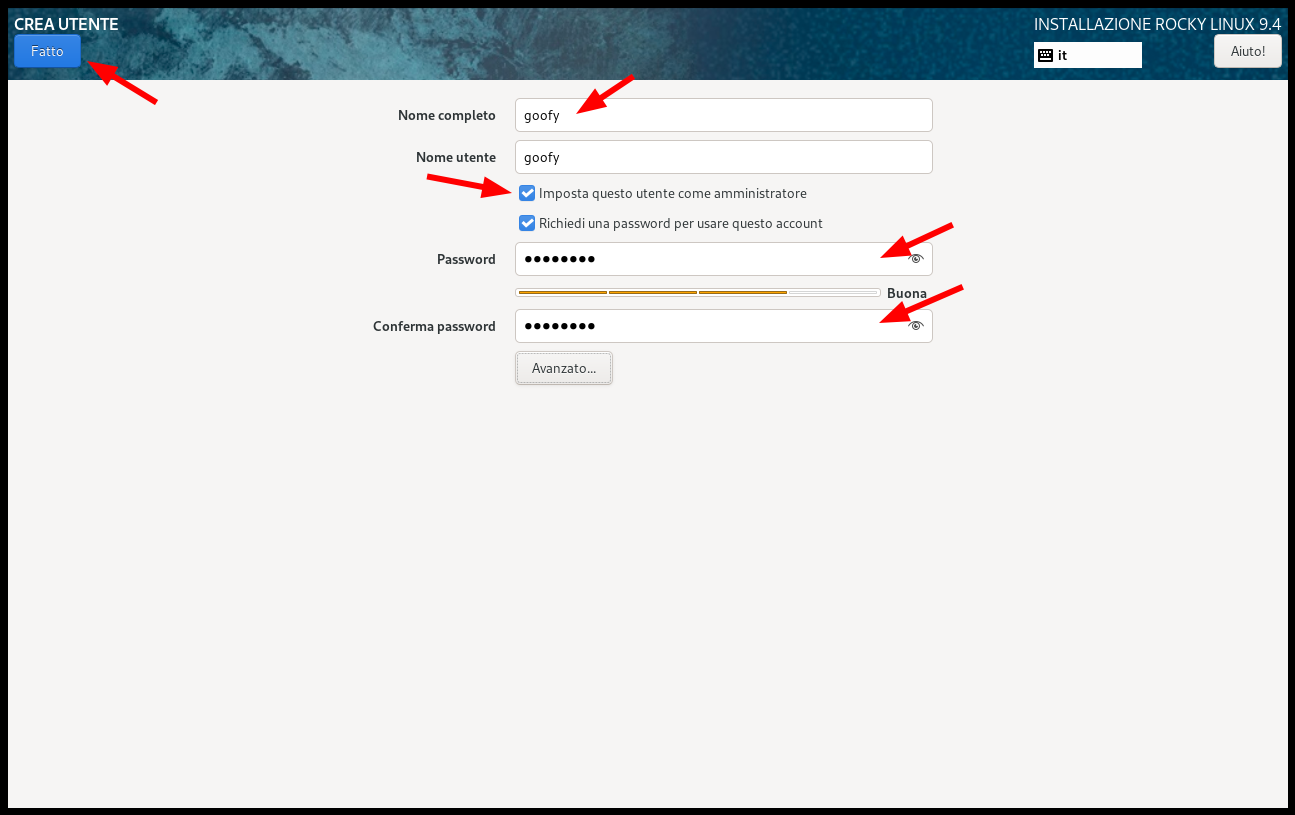
-
Create the privileged user that will manage the operating system:
- choose the username
- enable Make this user administrator
- enter the password twice
This user can escalate privileges with sudo and act as root. Protect it with a strong
password.
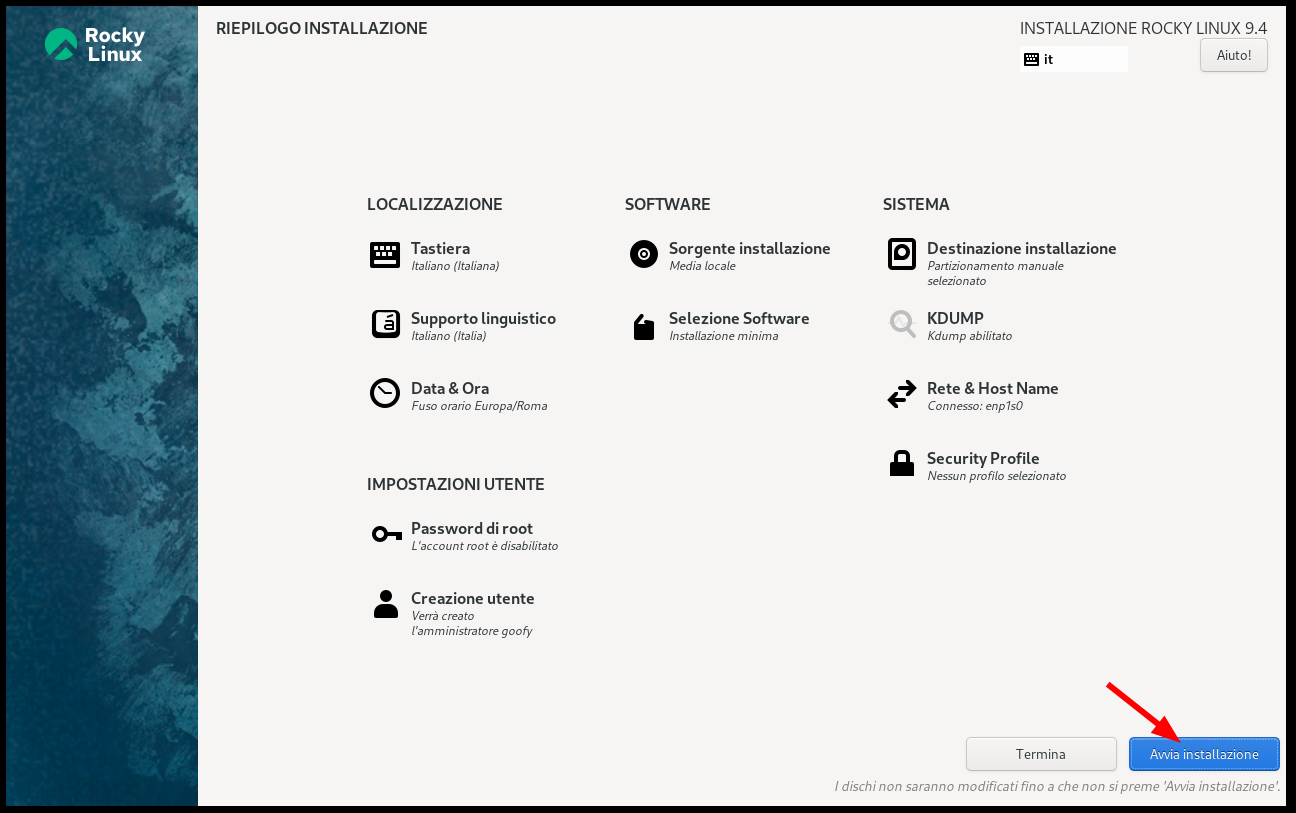
Then click Done.
- Back in the main menu, continue with the installation.
Next step
When the Rocky Linux installation is complete, continue with the NethServer 8 setup by following Install NS8 on a supported distribution.
For more details about Rocky Linux installation, see the official Rocky Linux installation guide.